Tutorial
Product Lighting for Glossy Objects in Eevee
March 15, 2026
Eevee doesn't support light shader nodes, so you can't use gradients on area lights. That's a problem for glossy product shots. Here's a workflow that gets around it — build your lighting in Cycles, bake it to an HDRI, and use that HDRI in Eevee.
Video walkthrough of the full process.
The problem
For glossy objects you need custom lighting. A pre-made HDRI plugged into the world shader won't fit your specific object — you can't control where the reflections land or how they wrap around the surface. And if you try to use area lights directly in Eevee, you get hard edges with no way to add gradients or falloff. The reflections end up looking flat and uniform.
In Cycles this isn't an issue — you can use light nodes to add gradients, control feathering, and shape the reflection exactly how you want. But Cycles is slow for animations and quick iterations. Eevee is fast, but it can't do the lighting. That's the gap.
The idea
Set up your lighting in Cycles using area lights with gradients. Once it looks right, bake the whole setup into a 360° HDRI. Plug that HDRI into the world shader, switch to Eevee — you get almost the same result at real-time speed.
The setup
The subject is a smoker — mostly glossy metal parts with a transparent plastic hose. It's a good test case because you're dealing with both specular reflections and translucency at the same time.
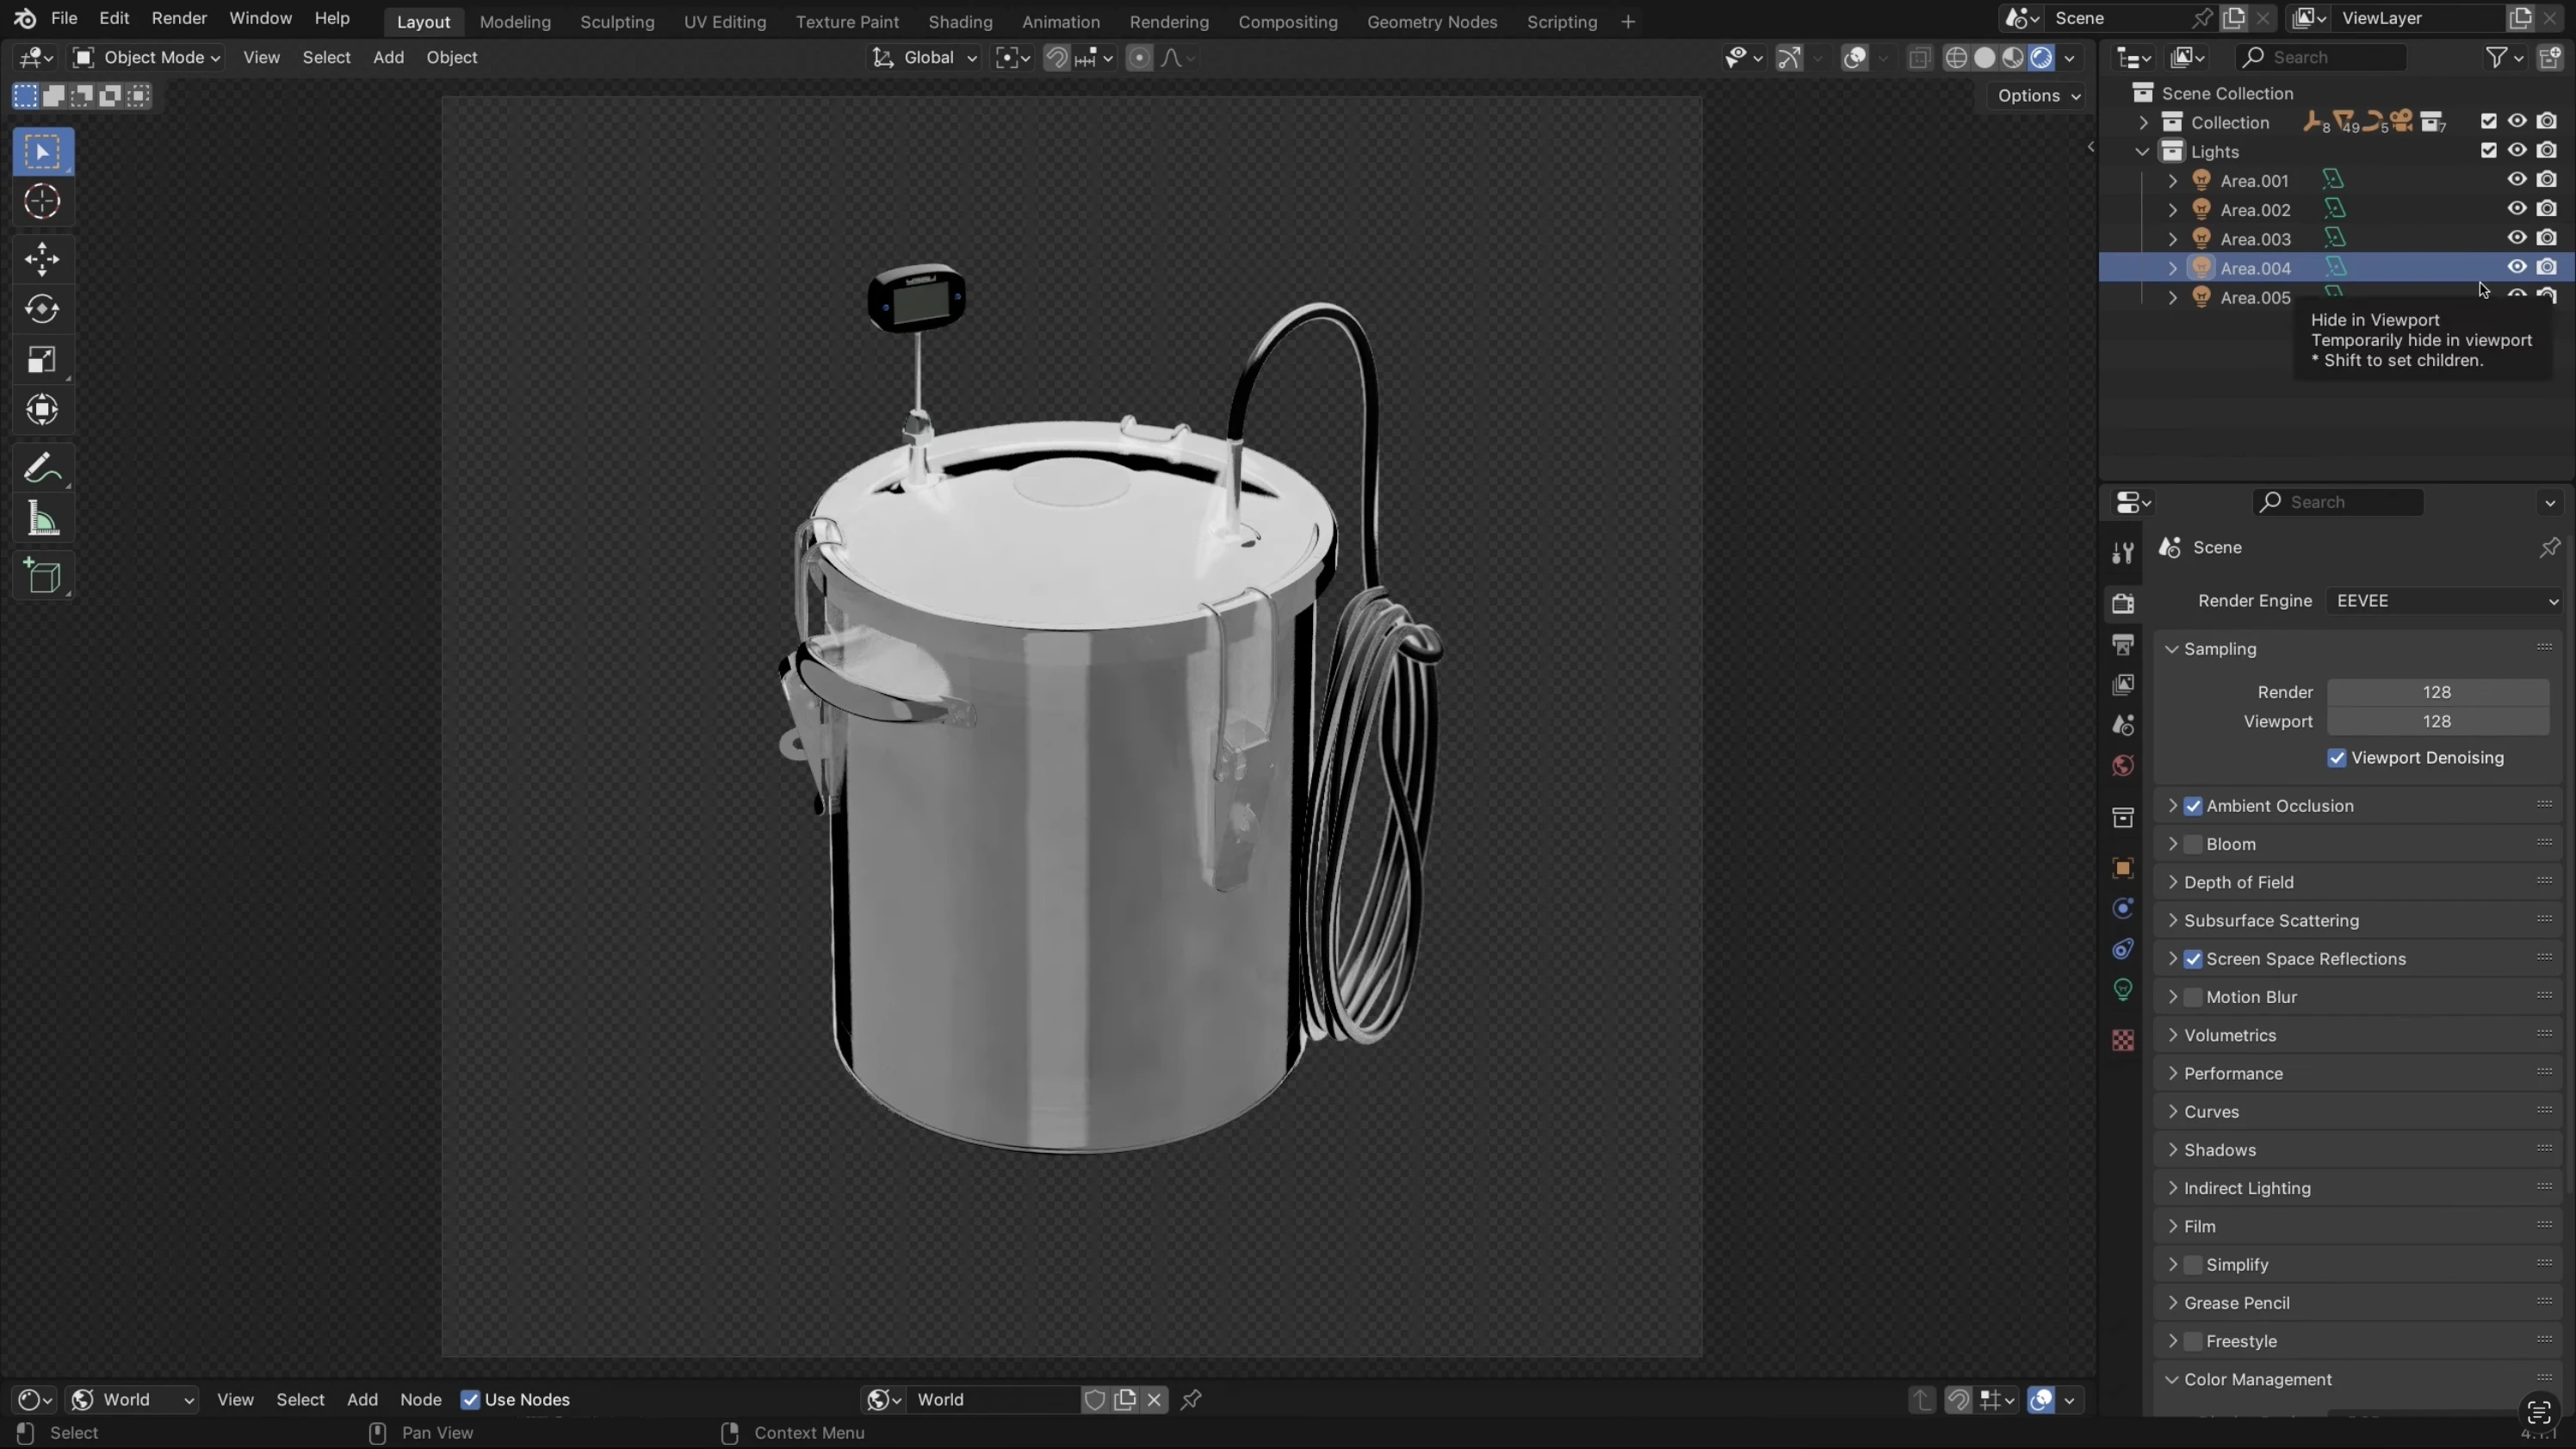
The whole thing uses four lights. Each one has a specific job.
1. Key light — vertical reflection
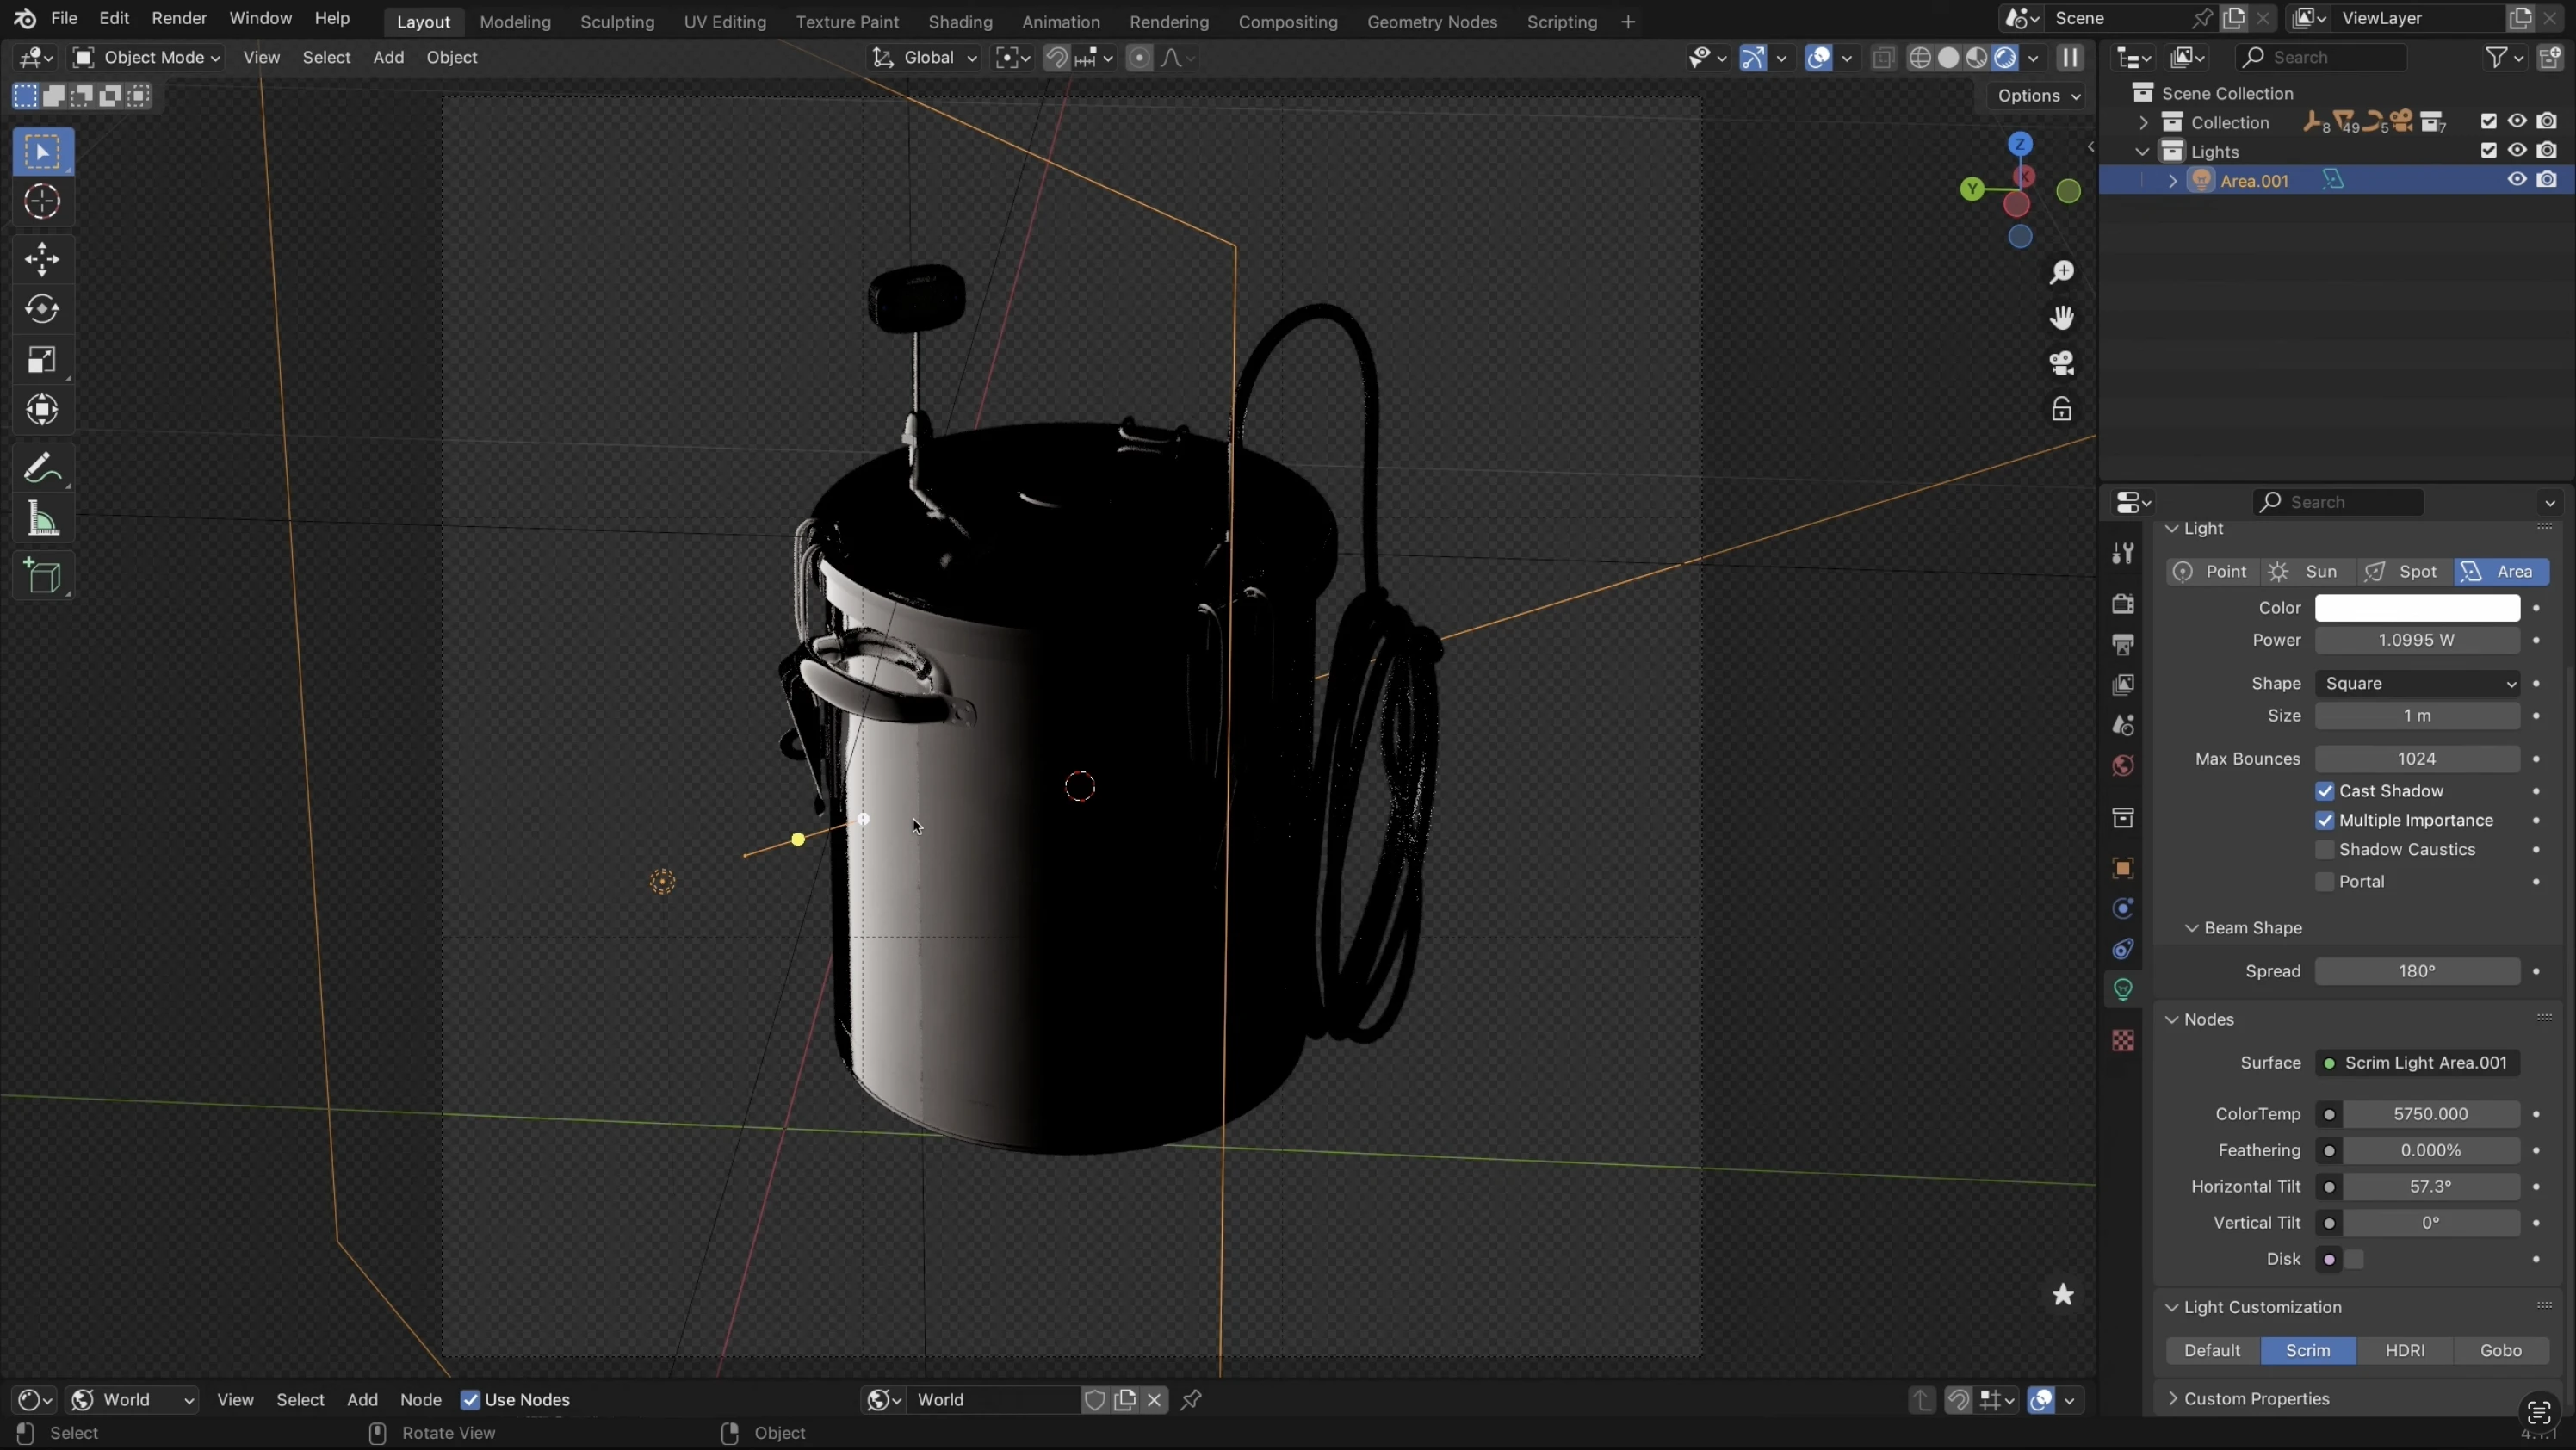
A large area light positioned close to the object in direct mode. This gives you a vertical reflection on the metal. Move it closer to make it wrap more. Then add a horizontal gradient using the tilt slider — that breaks up the uniformity and gives the reflection a natural fade.
2. Fill light — opposite side, inverted gradient
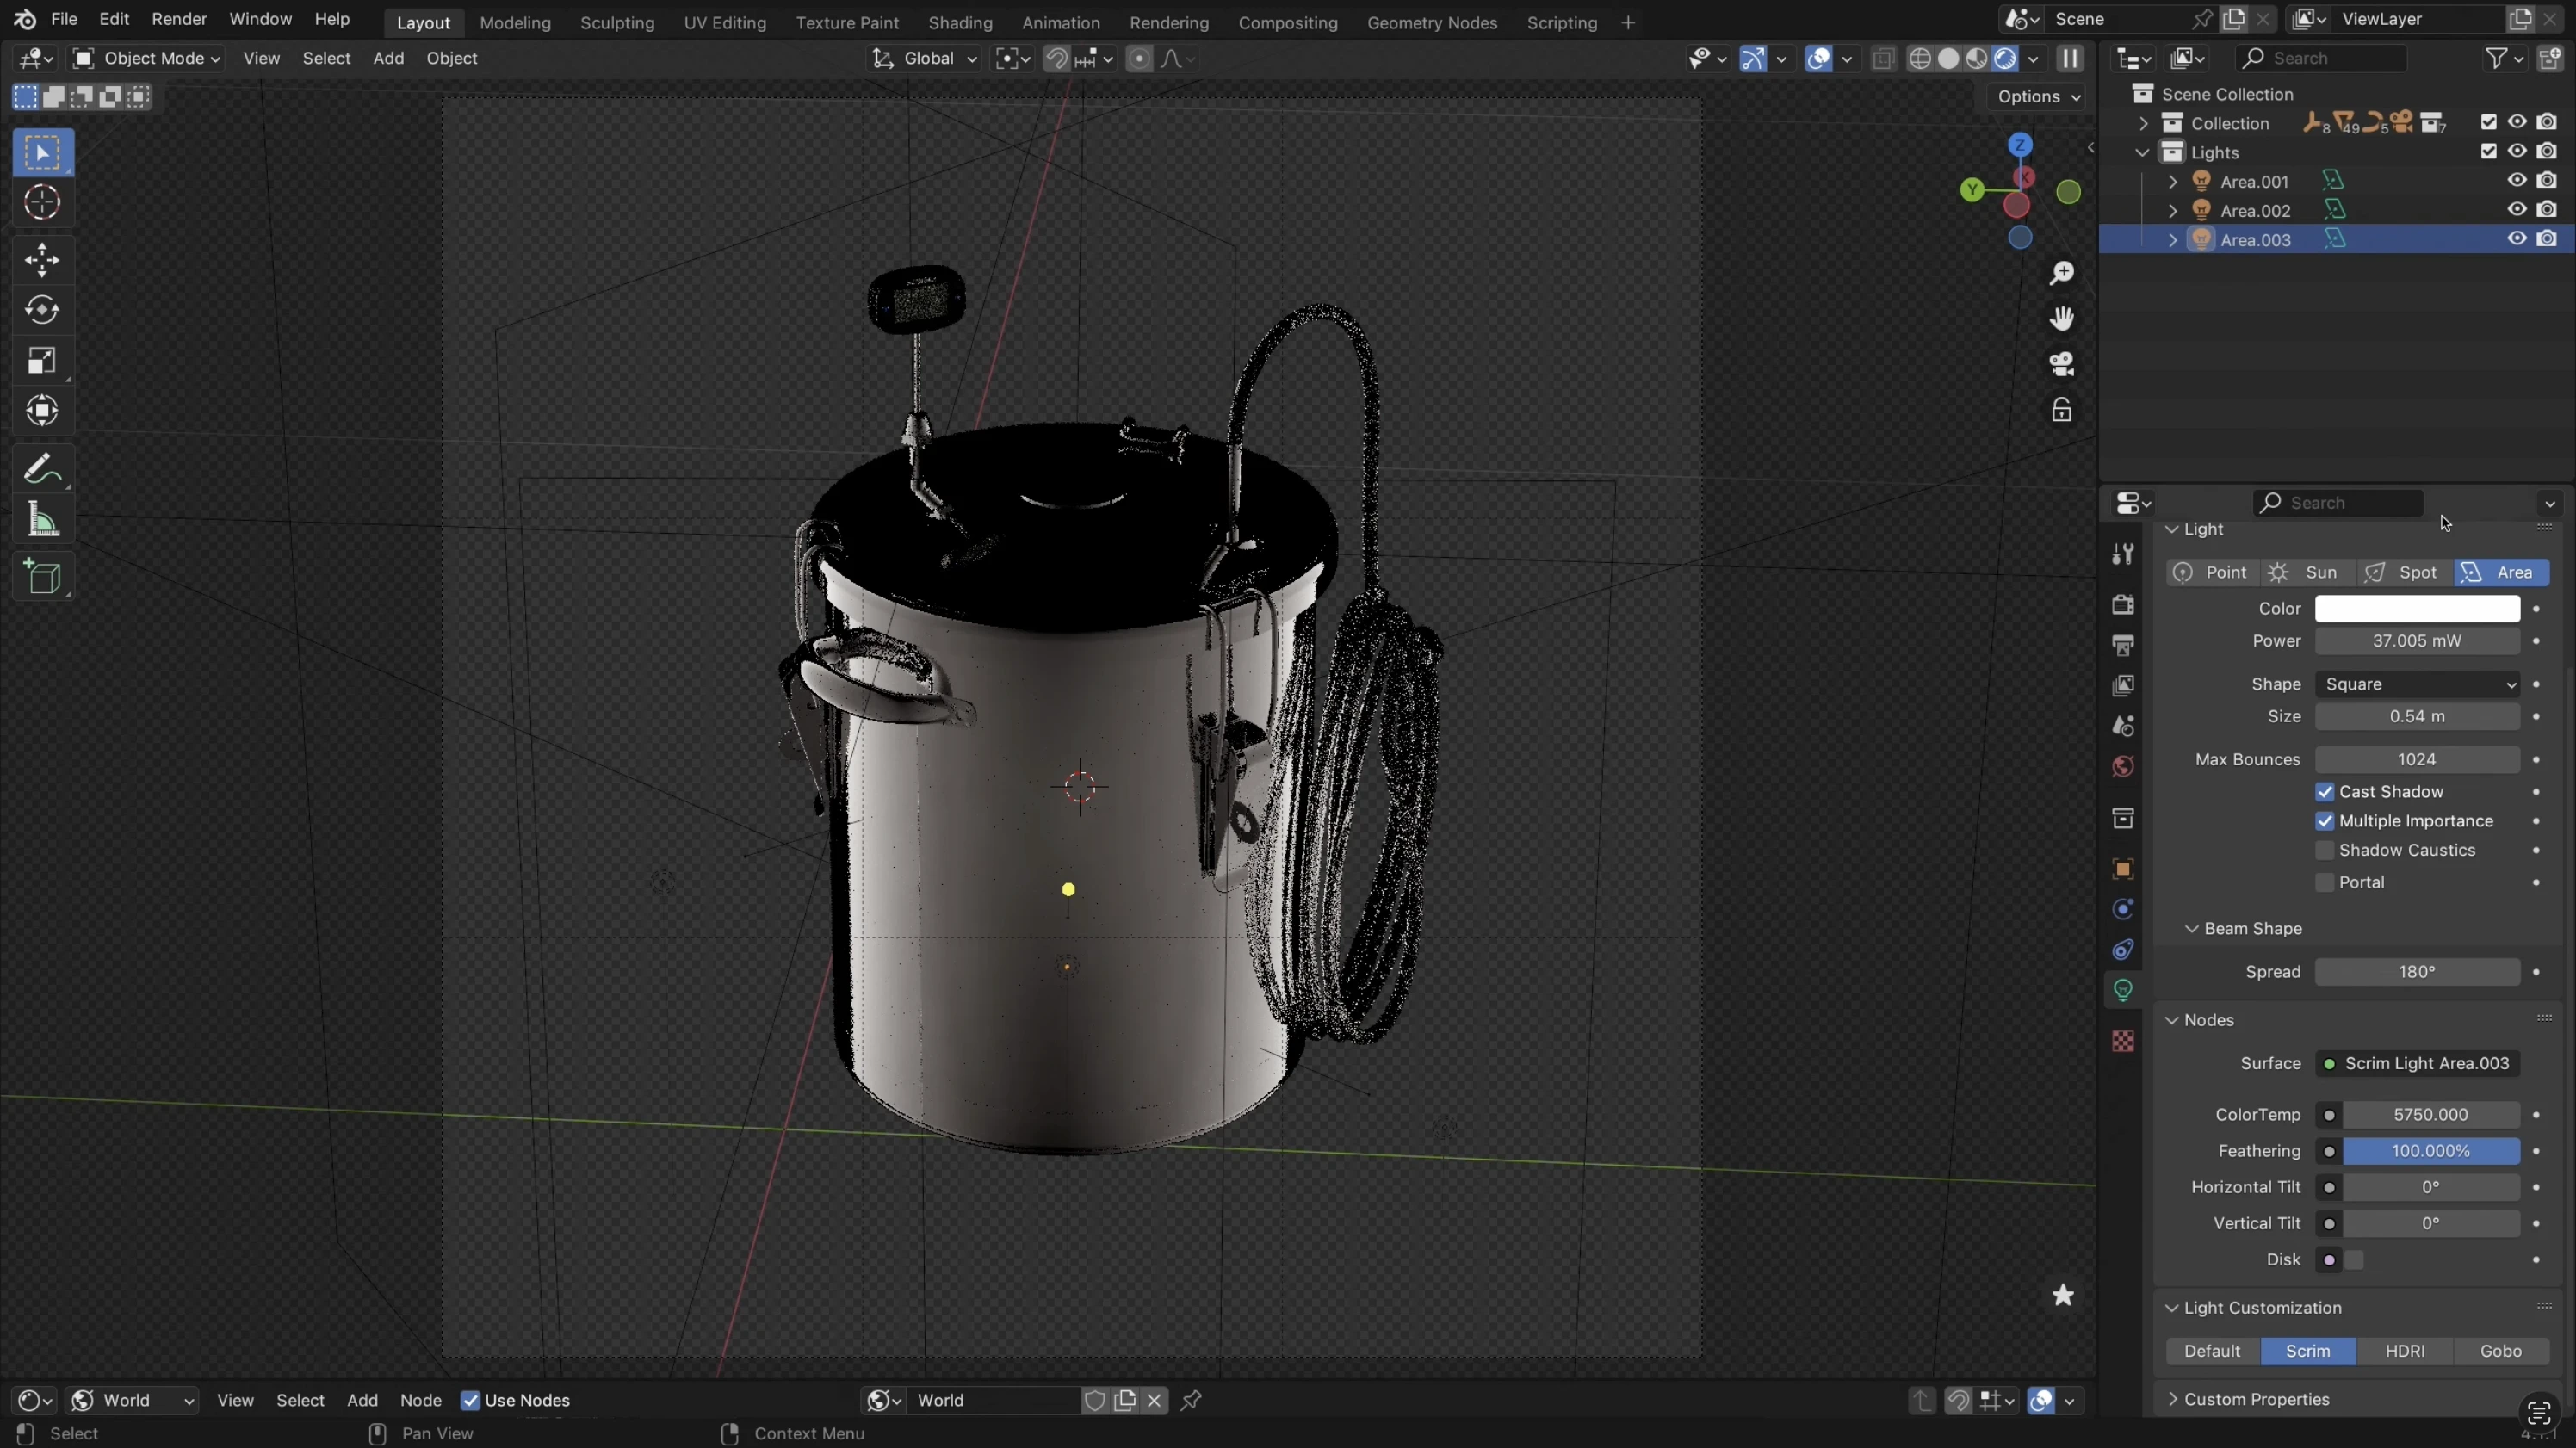
Duplicate the first light, move it to the other side, invert the gradient. This fills the dark areas without flattening everything — because the two gradients run in opposite directions, you keep the depth.
3. Top light — with a vertical gradient
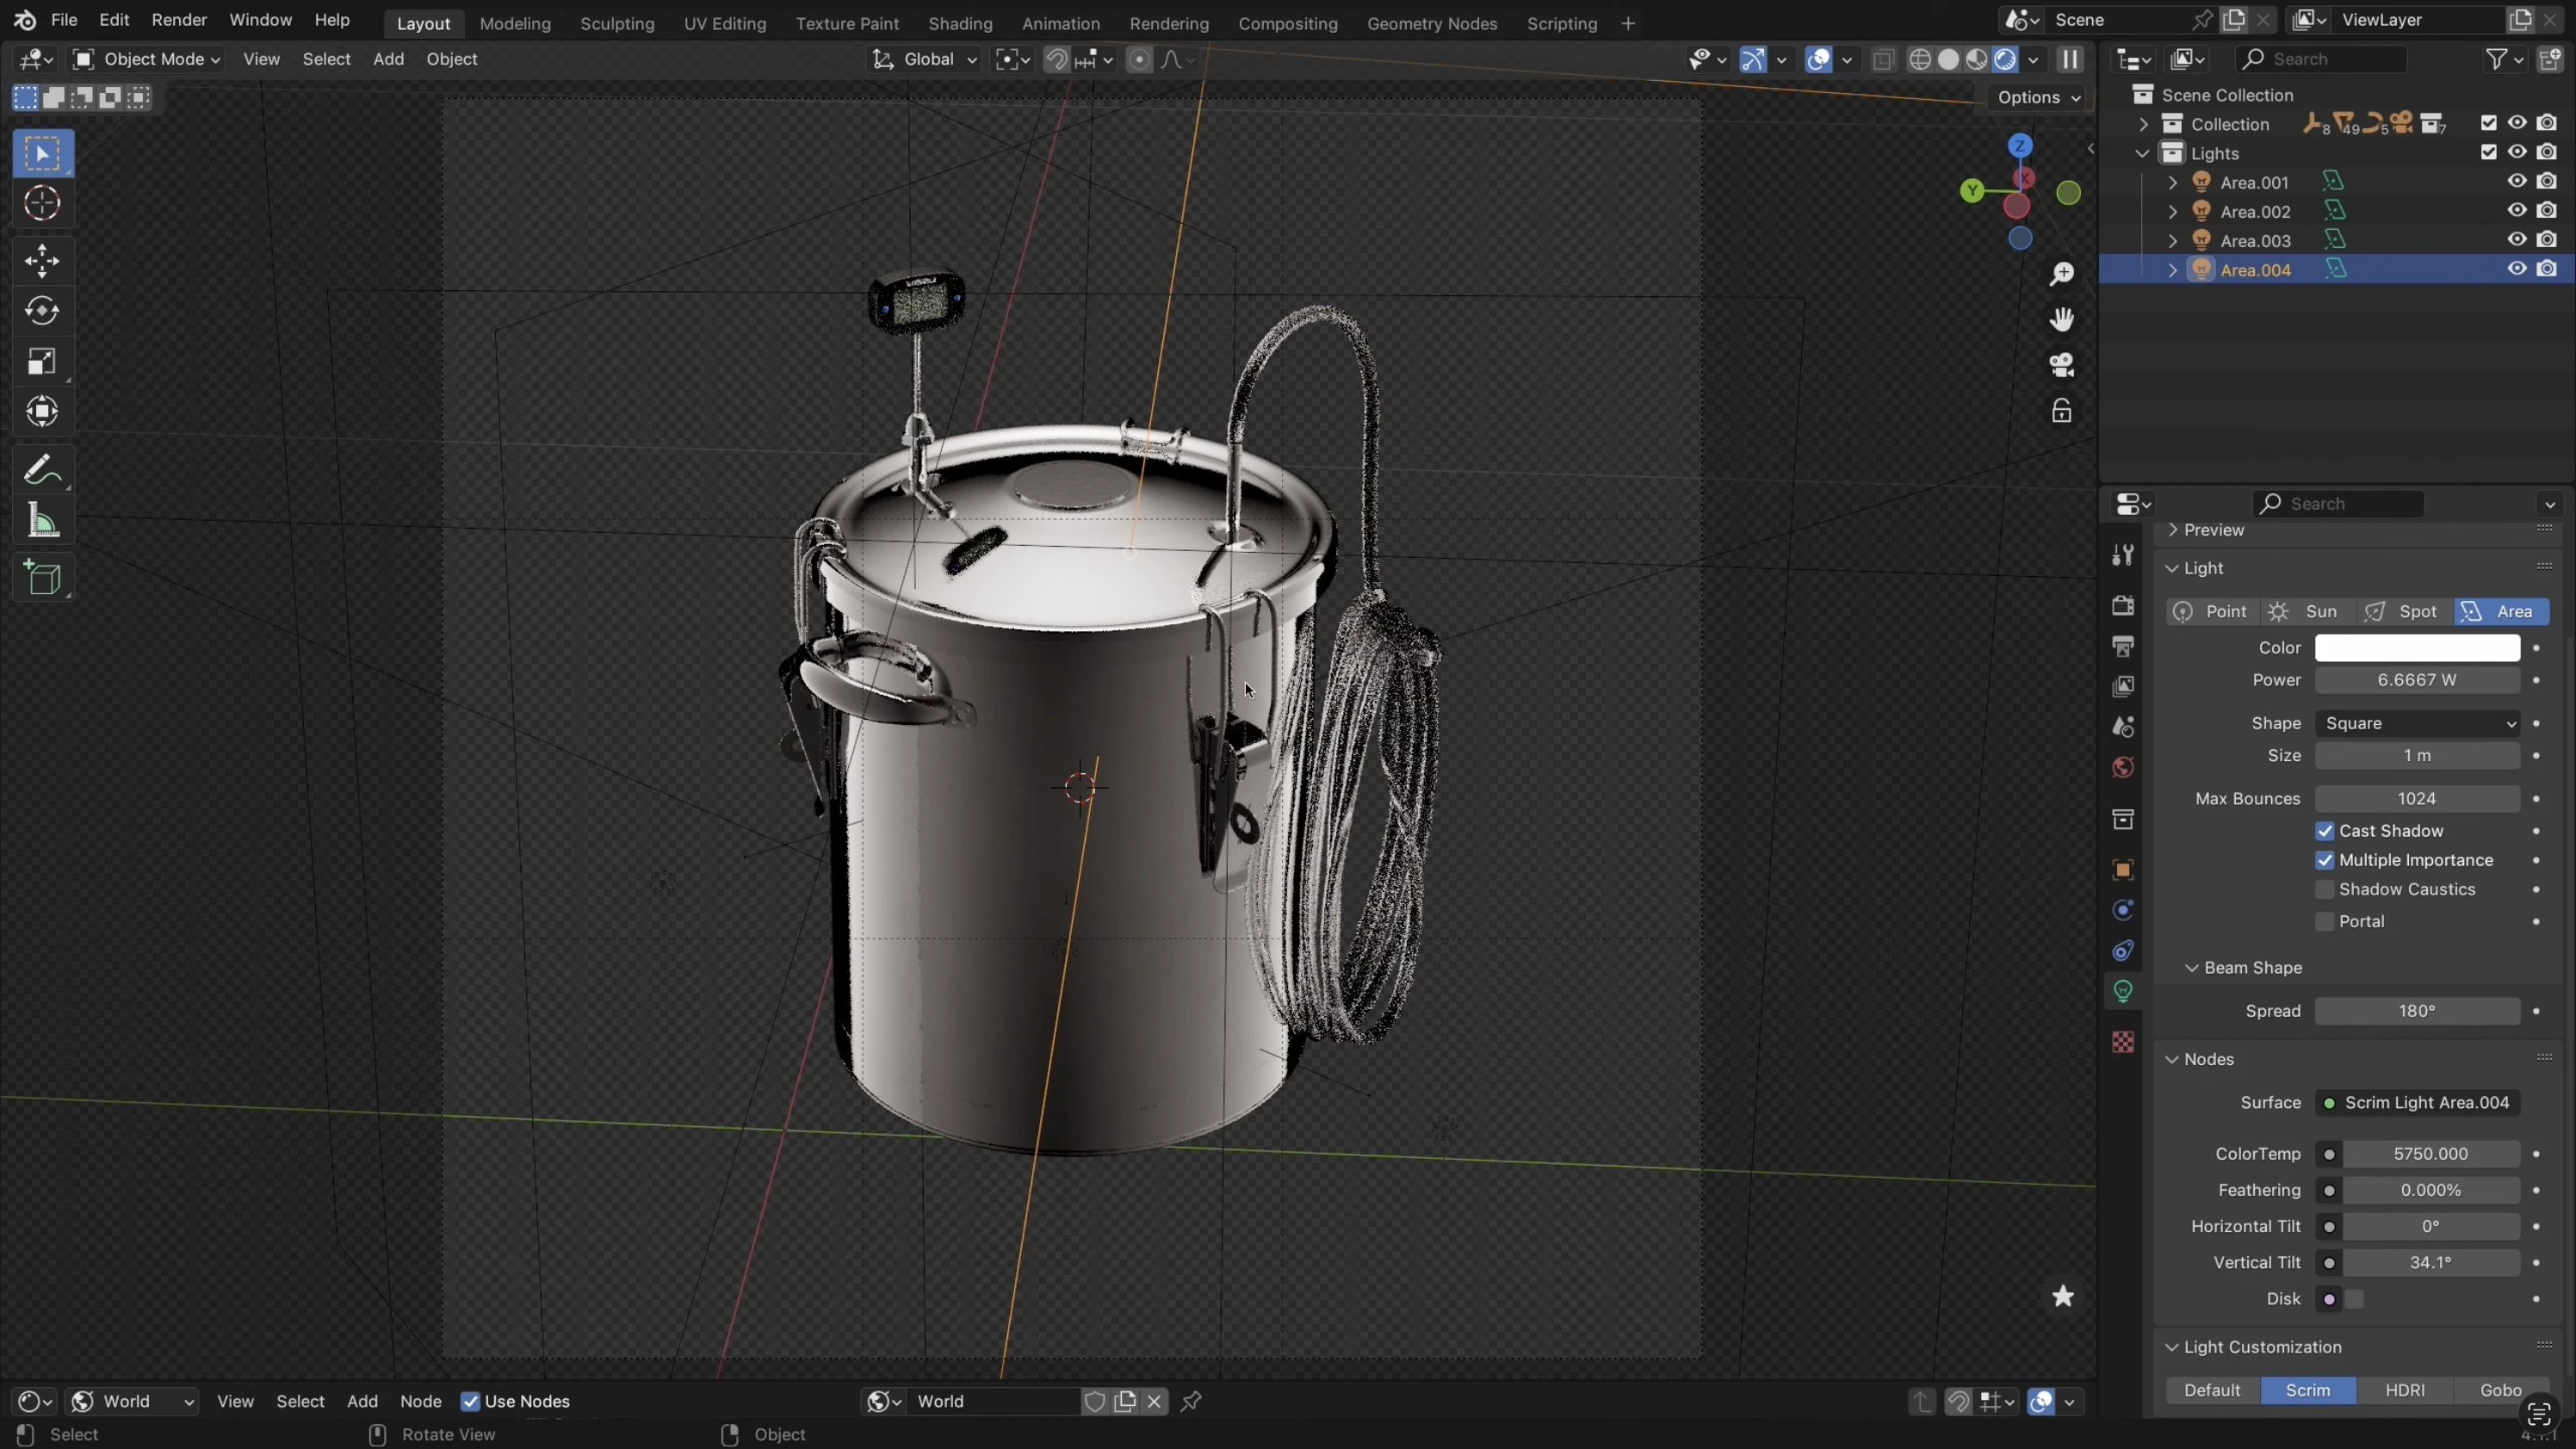
A top-down light with a vertical gradient. Position it so you get a hard edge on part of the lid — you don't want the top lit evenly. Keep the brightness low.
4. Back light — for the transparent hose
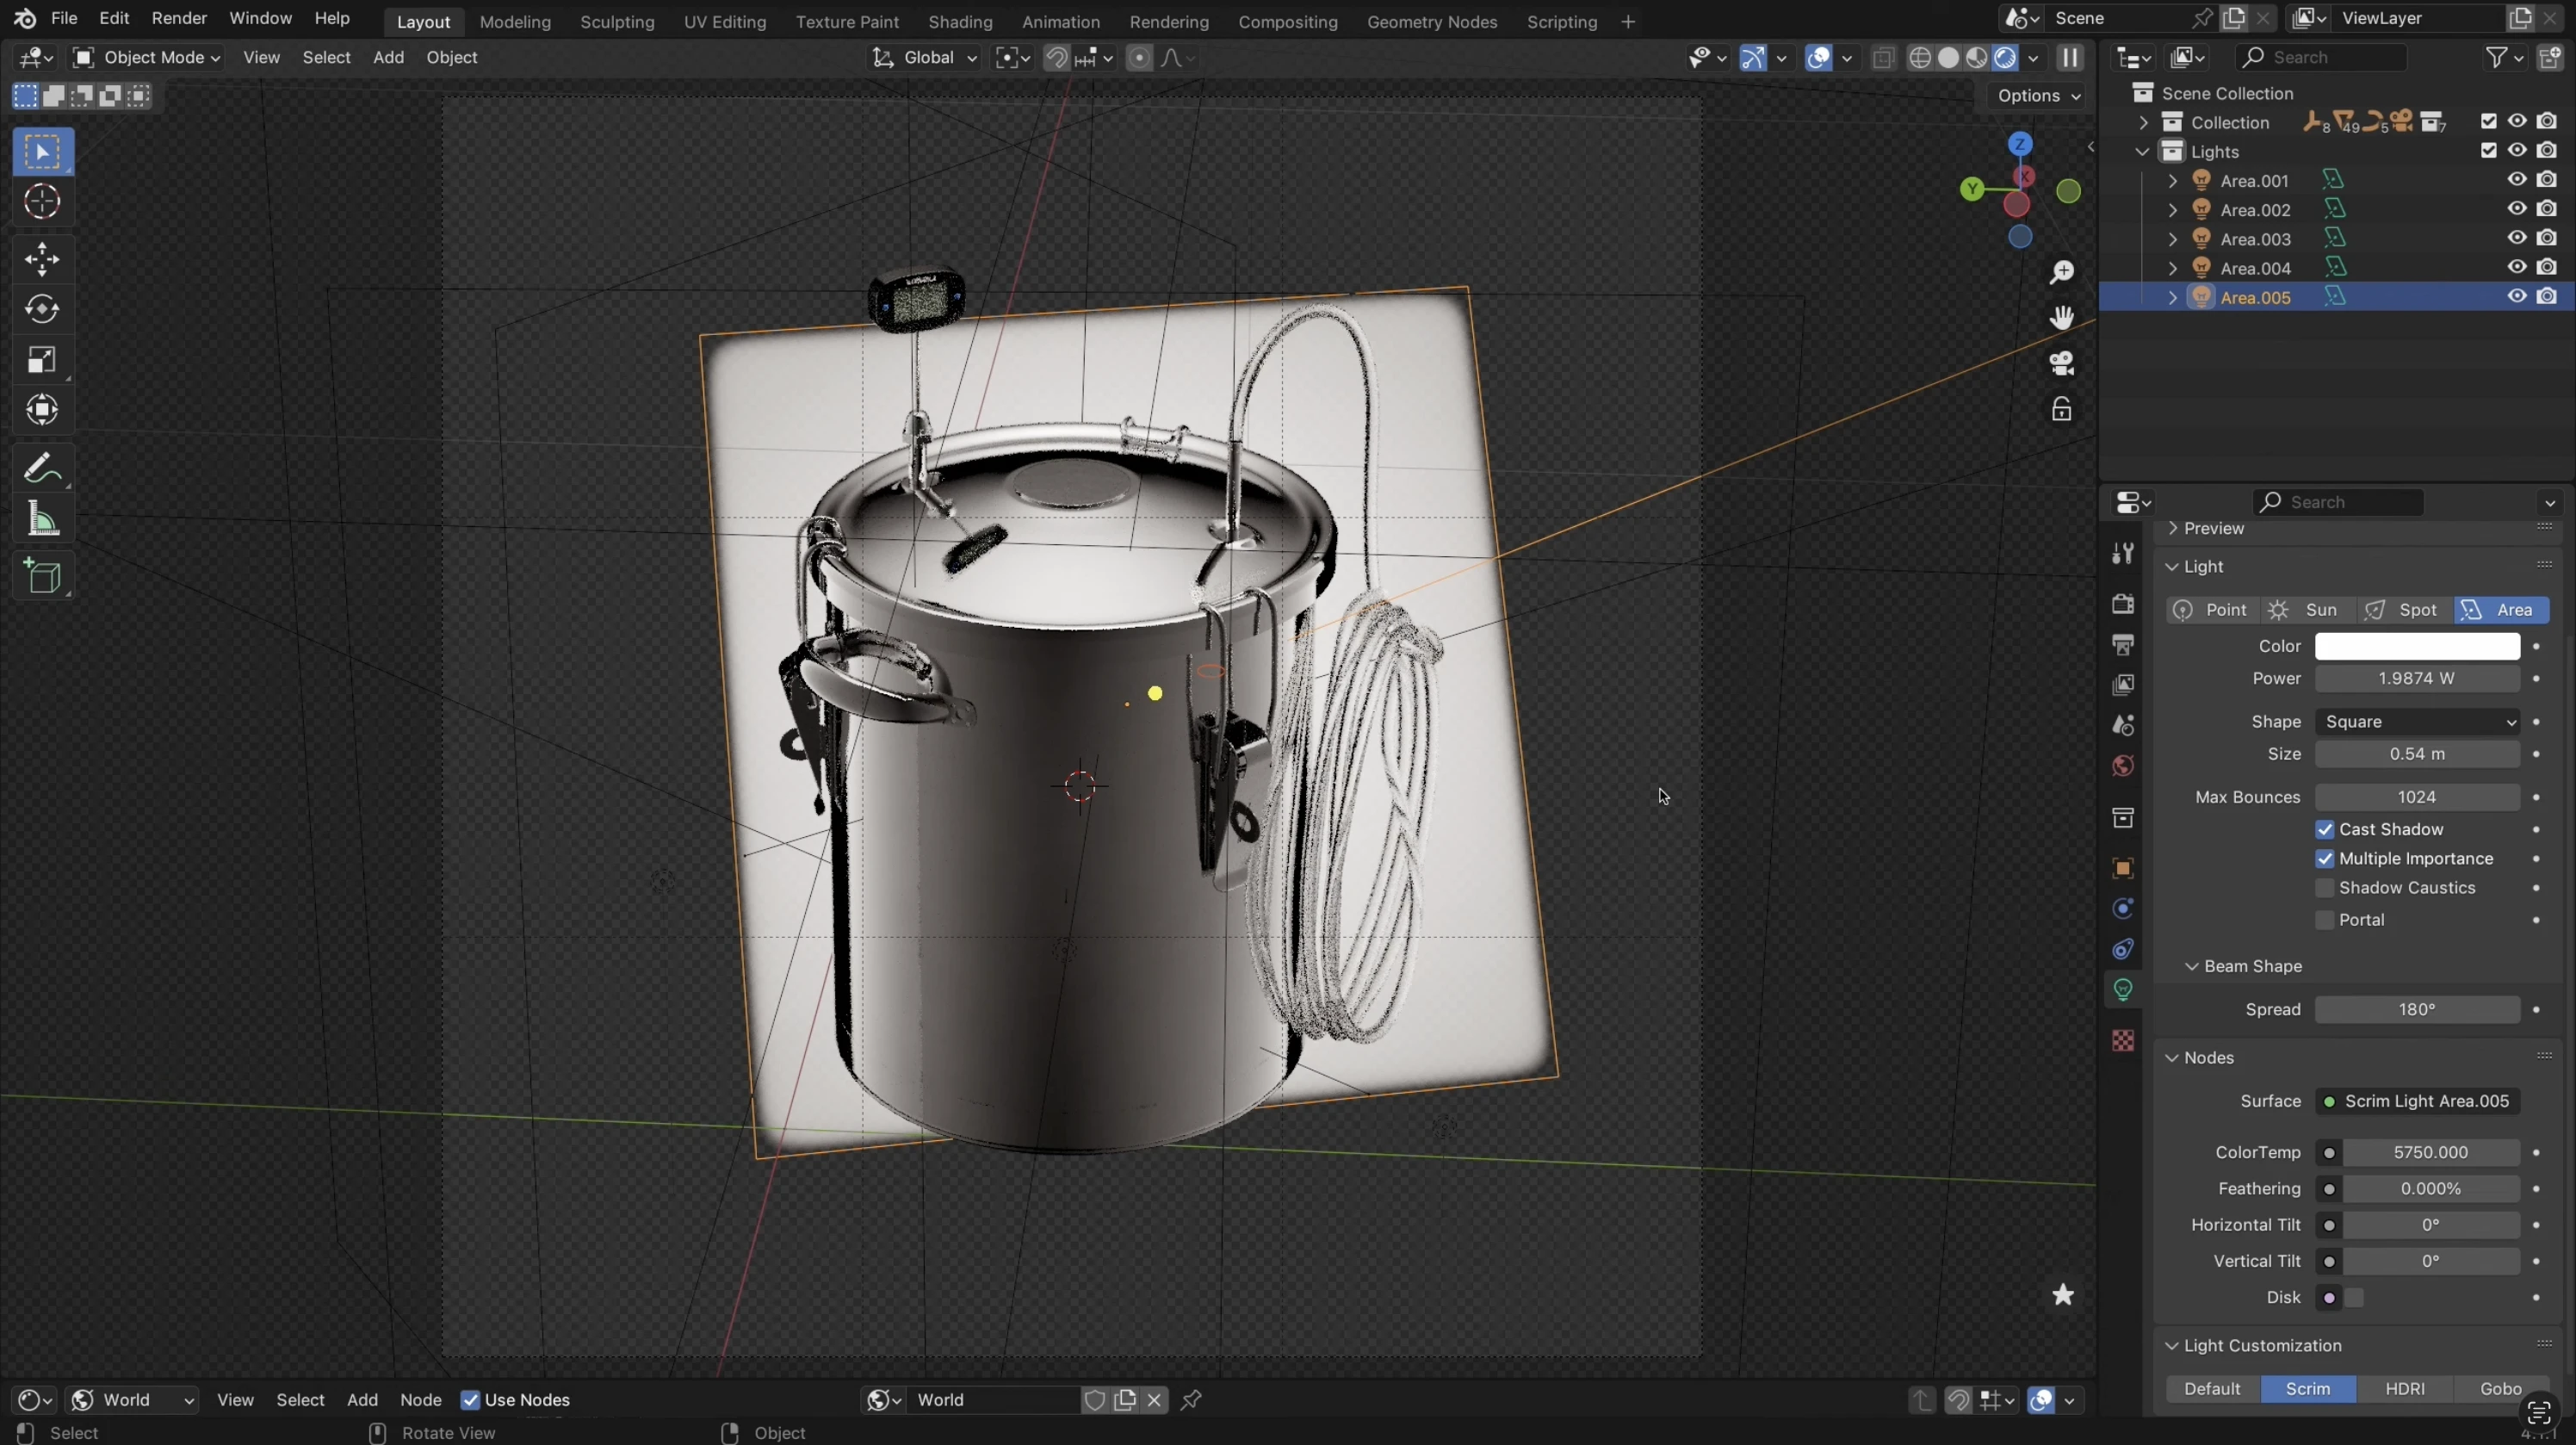
A smaller light behind the object, aimed at the hose. Keep it small so it doesn't spill onto the metal parts — it should only light the transparent plastic. Use light isolation to check its effect on its own before mixing it back in.
Bake it to an HDRI
Once the Cycles lighting looks right, open the World tab in Light Wrangler. Choose the resolution — 4K is enough for this kind of setup — select a folder, and hit Render 360 HDRI. That's it. The image is saved and ready to use.
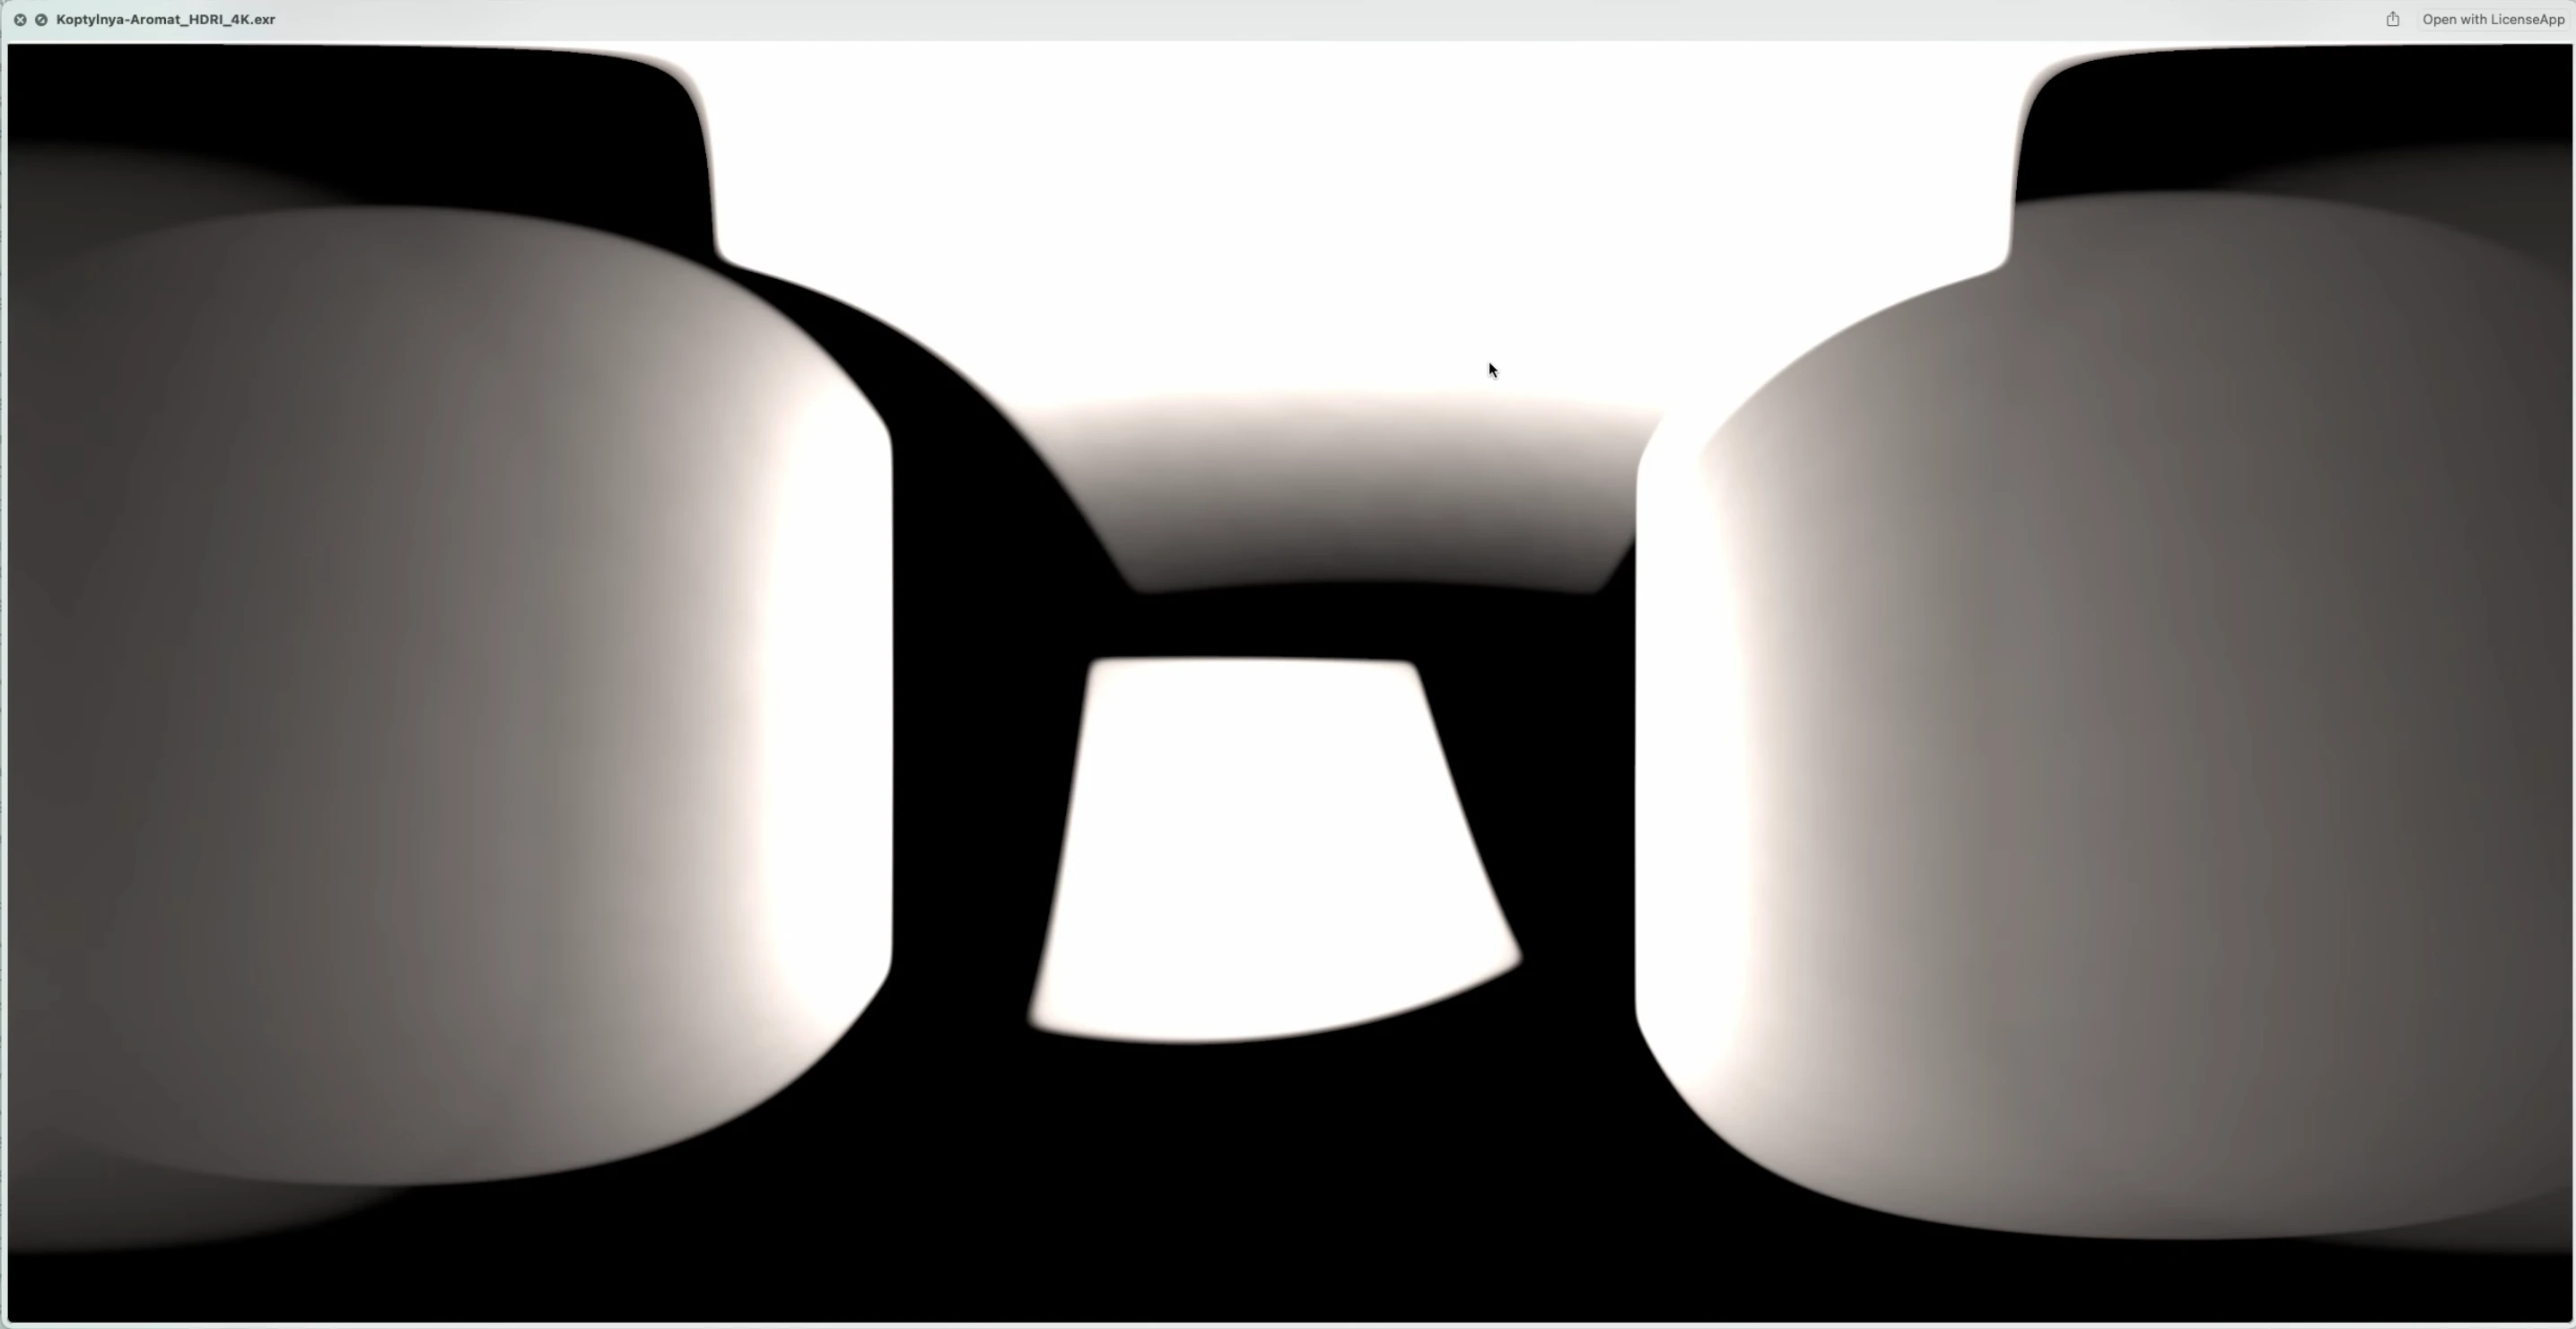
The baked 360 HDRI — all four lights captured in a single environment map.
The result in Eevee
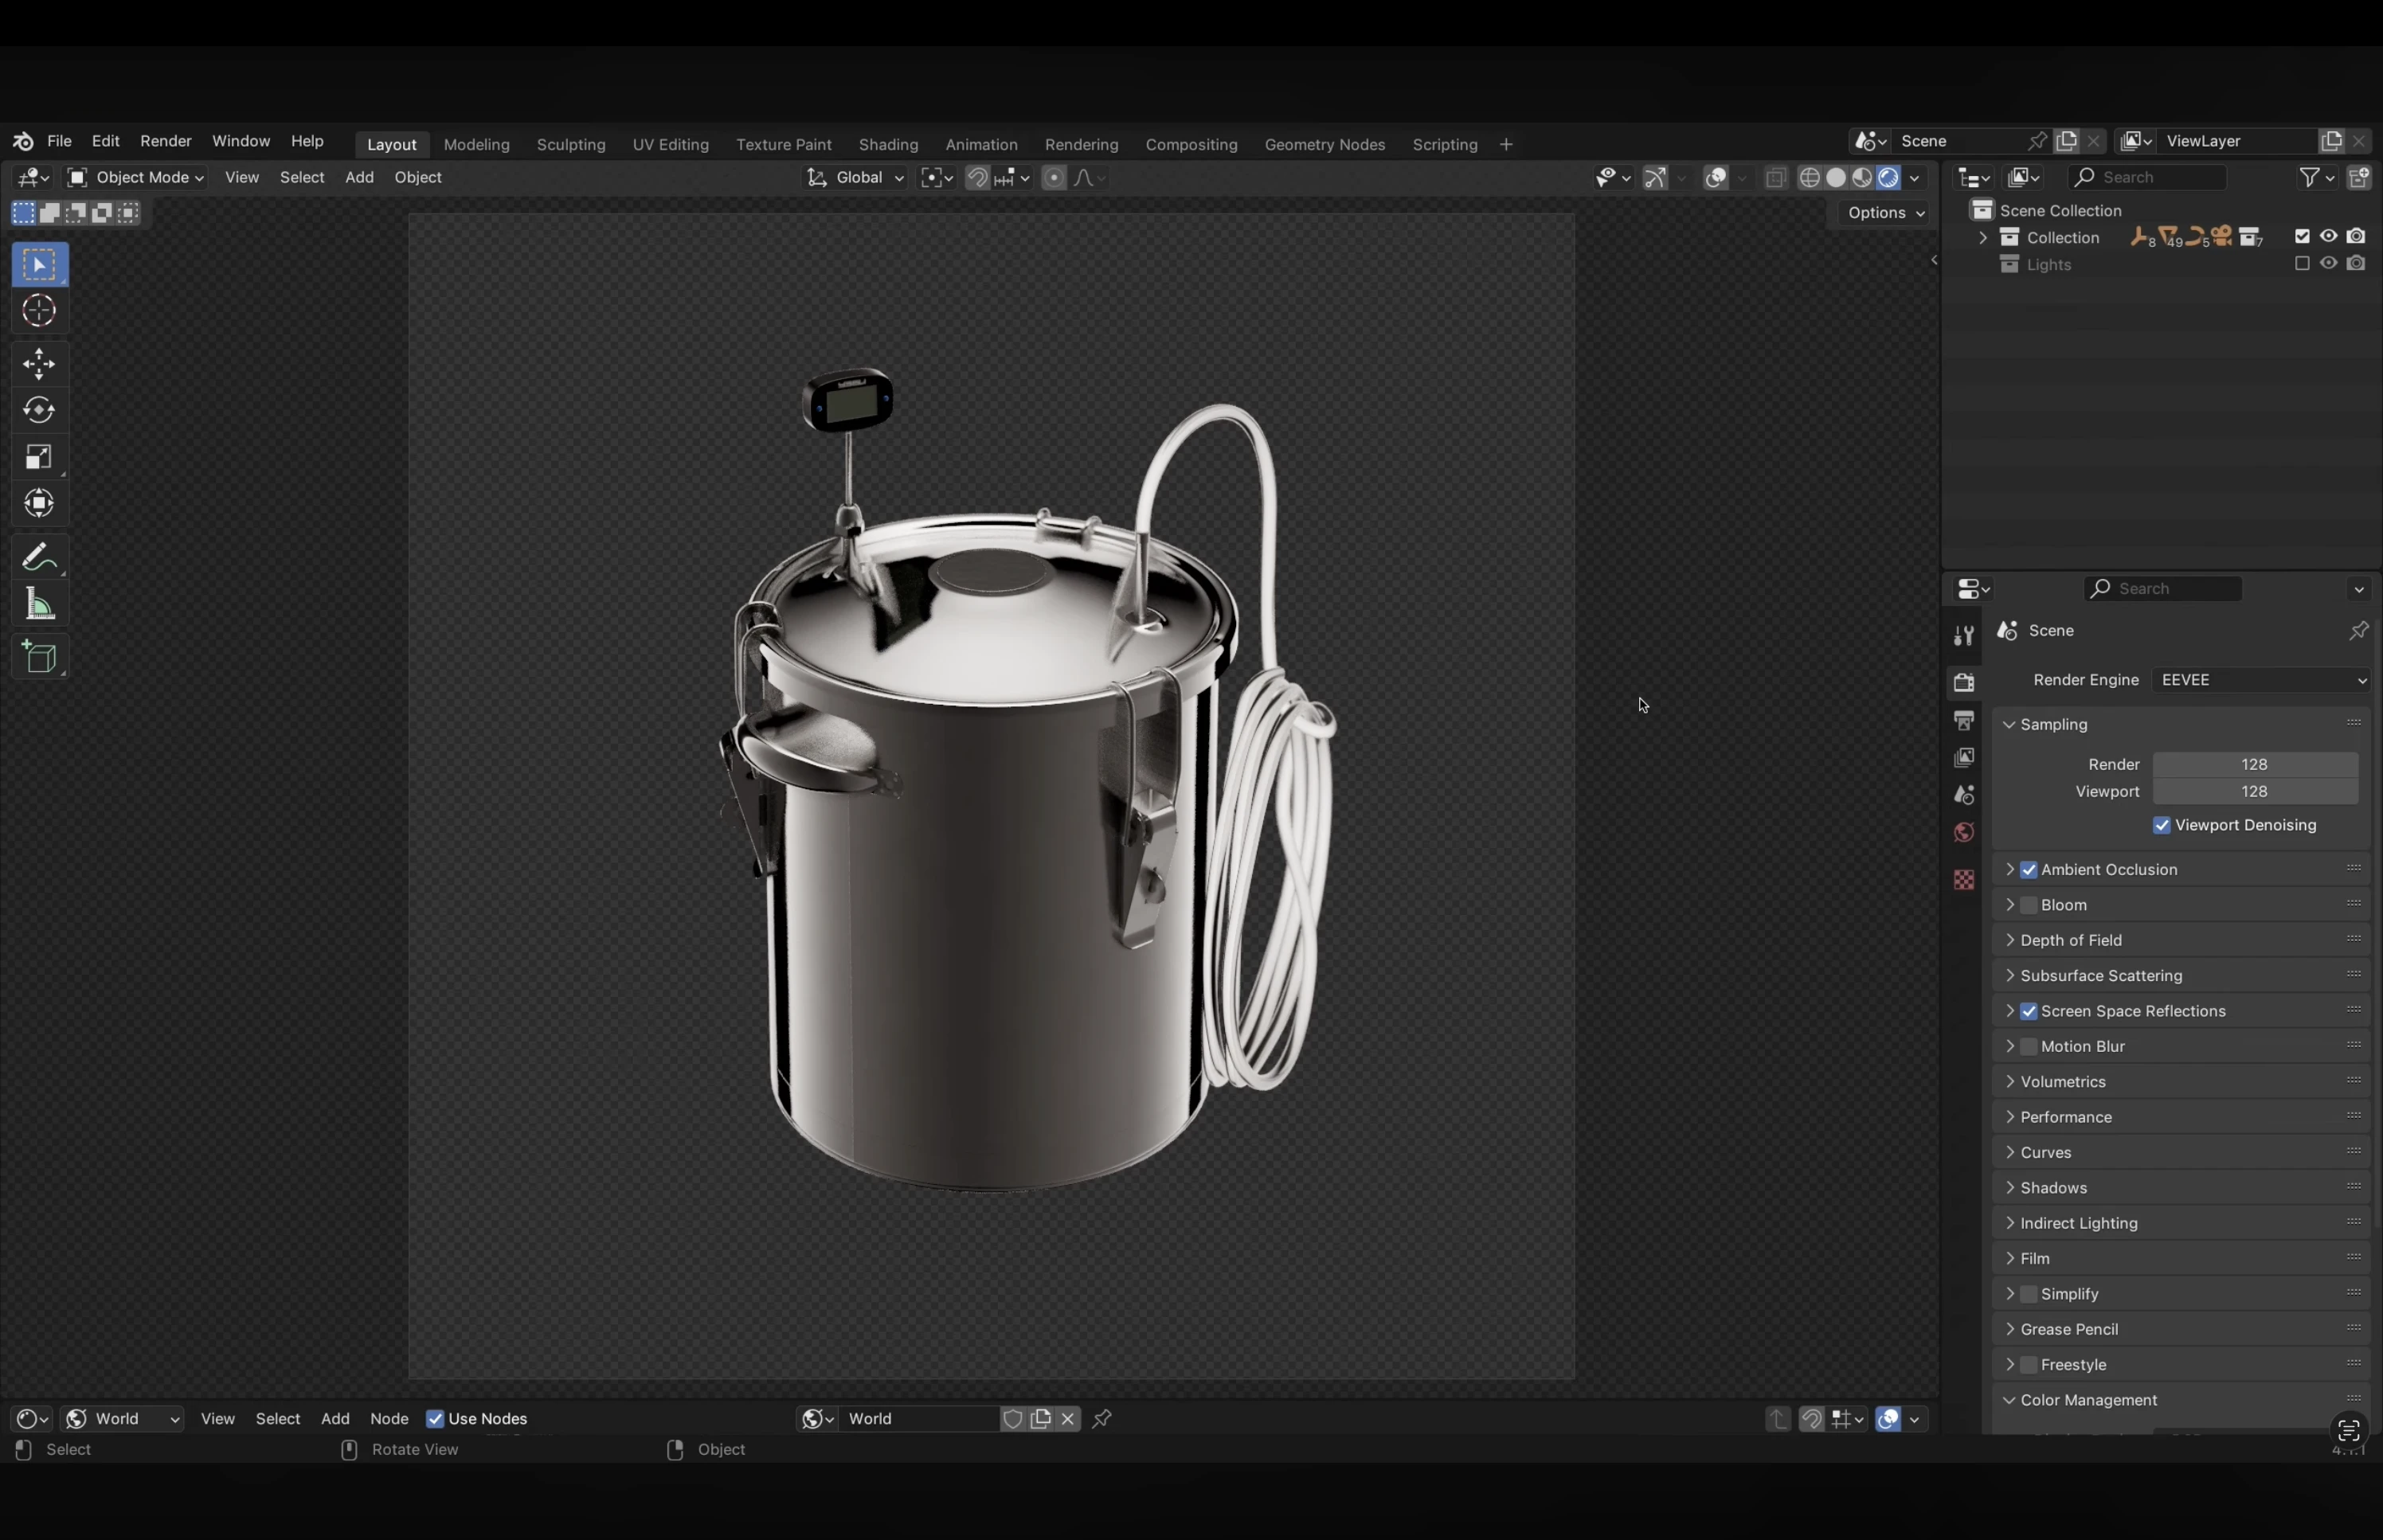
Plug the HDRI into the world shader, disable the original lights, switch to Eevee. The lighting is almost identical — the gradients, the falloff, the glow on the hose, all of it carries over. And it renders fast enough for animations and turntables.
You can also use the same HDRI in Cycles if you want — it can reduce render times a bit since the engine doesn't need to calculate light nodes.
Light Wrangler includes the HDRI baking feature
Along with interactive light placement, scrims, gradients, gobos, IES profiles, and more.